
[ad_1]
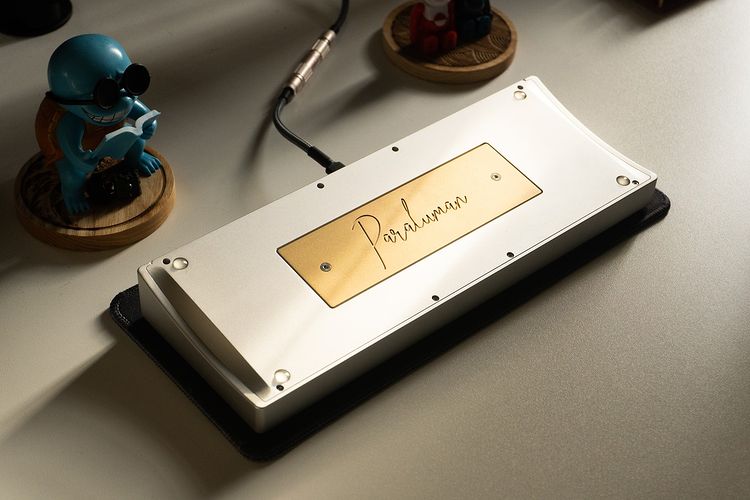
One of many results of individuals resorting to a WFH setup is them investing on peripherals to enhance their setup for each work and play. Keyboards are one of many extra necessary peripherals in a great WFH setup, with some even going the additional mile by having a customized keyboard. Those that go the customized mechanical keyboard route would make investments time, cash, and persistence in constructing a keyboard that fits their desires and wishes–one thing a pre-built keyboard can’t supply.
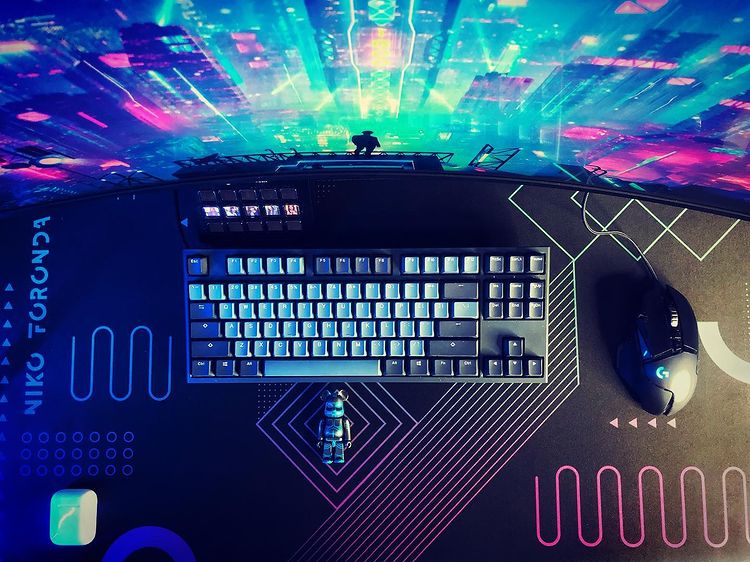
For this information, we talked to Niko Foronda, somebody whose been constructing customized mechanical keyboards for a very long time to see what hoops you could undergo to construct your personal customized mechanical keyboard within the Philippines with out breaking the financial institution.
The right way to Assemble your Personal Mechanical Keyboard within the Philippines
- Know what construct you favor
- Supply the elements you want
- Take a look at your keyboard PCB
- Put together all of the elements
- Begin by putting in the stabilizers
- Set up your switches one after the other
- Set up the PCB into the case and add keycaps
- Check out your newly-built keyboard
Know what construct you favor. As we defined in our earlier article, there are lots of keyboard varieties to select from, and all of it boils all the way down to what kind of board matches your wants. Would you like a compact setup like a TKL or a 65% keyboard structure? Do you want a quantity pad (for these number-crunching duties)? How would you like your keyboard to “sound” primarily based in your switches? What different options (ie. RGB lighting, Bluetooth, programmable hotkeys, knobs) do you want? And most significantly: how a lot are you prepared to spend?
The latter is essential in any construct as a result of constructing keyboards will be an costly passion, with some builds costing upwards of Php 20,000. “This passion can actually burn by means of your pockets in case you’re not accountable along with your funds,” Niko shares.
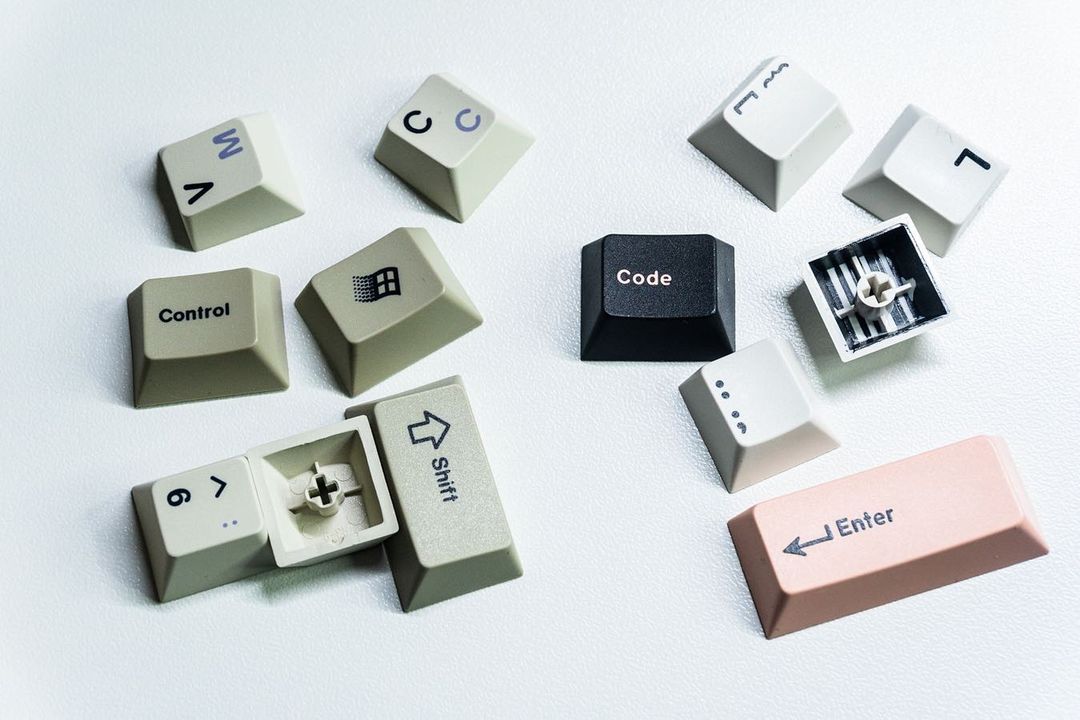
Supply the elements you want. Key parts that you will want are the keyboard PCB, keyboard case, stabilizers, keyboard plate, switches, keycaps, and a USB cable. The value of those parts might range and will be very costly attributable to restricted availability and lengthy ready occasions.
One instance of costly parts could be keycaps, the place Niko explains that these elements can vary anyplace from $200 to $1000 relying on rarity. Talking of keycaps, Niko provides that they play an necessary position in any builds in the case of the “sound” of your keyboard.
If you happen to don’t need to spend ludicrous quantities as a lot as doable Niko means that one ought to be a part of Group Buys and keep away from shopping for aftermarket. “it’s principally the neighborhood’s time period of taking orders for the elements that you just want, then you need to pay for it already, after which watch for the product to be manufactured,” Niko explains. Given the restricted availability of some elements, persistence does play a giant position in having the ability to get your required elements.
Regionally, high locations to purchase modding supplies could be JMK, whereas Zion Studios PH is a extremely really helpful place to purchase keyboard kits, switches, and equipment. In case you are into sourcing elements exterior of the Philippines, you need to give the subreddit r/mechmarket a examine.
Take a look at your keyboard PCB. Even in case you are shopping for model new elements in your construct, it’s necessary to make sure that they’re working correctly. That is extremely necessary with the PCB you might be getting, as you don’t need to get caught with a construct that has non-functioning keys.
For this step, you will want a USB connection, a pair of tweezers, and swap testing software program like Change Hitter or VIA (if it’s appropriate along with your PCB). Change and Click on has a great clarification of how to do that half.
This half might add a couple of minutes to your construct time, however think about it necessary so that you’ve got peace of thoughts that you just didn’t obtain any lemon parts.
Put together all of the elements. After you have the instruments and elements you could begin your construct, you can begin doing further preps on the person parts. These embrace filming, modding stabilizers, and lubing each the switches and stabilizers. Whereas switches are often pre-lubed, some builders would redo the lubing to swimsuit their wants. Do do not forget that this step is non-compulsory and is completely as much as you.
“For stabilizers, it’s extremely really helpful to lube them with a view to keep away from the rattling sound it produces brought on by the wire and the housing holding it in place,” Niko explains, including that lubing switches is a matter of 1’s choice with their builds.

Begin by putting in the stabilizers. After all of the elements have been prepped, you can begin constructing your personal keyboard. It’s extremely really helpful to have a big desk area and a big desk mat to maintain your self organized when placing the items collectively.
The meeting begins off by inserting the stabilizers, and making certain that they’re correctly aligned into the PCB. As soon as they’re put in, you may set up the keyboard plate. Whereas it’s non-compulsory, it’s extremely really helpful to put in one to provide added rigidity to your construct.
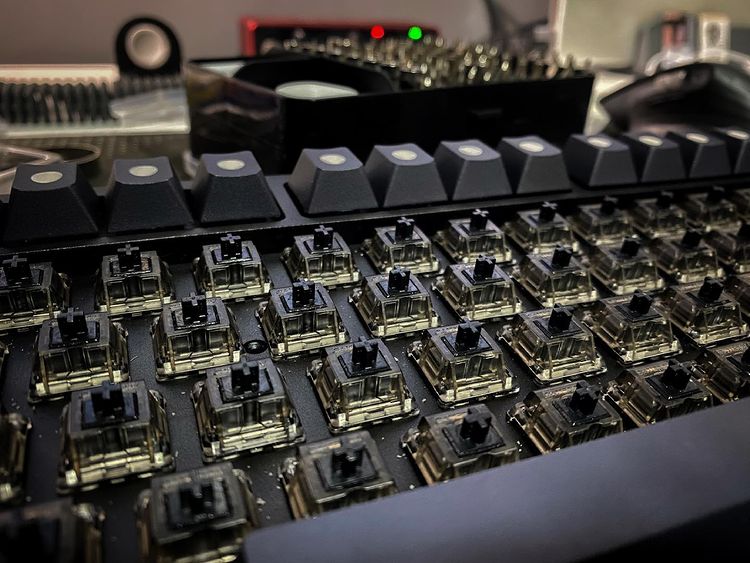
Set up your switches one after the other. With the stabilizers put in and correctly aligned, you begin putting in your switches one after the other. In case you are utilizing a non-hot-swap board, you will want to solder every swap. Normally, soldering is often finished with switches—however Niko provides that some keyboard kits will mean you can do deeper customizations like including resistors, diodes, ICs, and extra.
In case you are utilizing a hot-swap board, putting in the switches is as straightforward as putting in Lego bricks. A hot-swap board is nice in case you plan to vary switches sooner or later.
Set up the PCB into the case and add keycaps. As soon as the entire switches are put in, you may place your constructed PCB into the case and begin inserting these keycaps.
Relying on the board you might be utilizing, the entire meeting course of does take some time. Niko explains that on common, it takes 1-2 hours to utterly construct a hot-swap keyboard, and 2-3 hours for a non-hot-swap keyboard that requires soldering.
Check out your newly-built keyboard. Now that your mechanical keyboard has come to life, it’s time to provide it a take a look at. That is finished by doing typing assessments with it. From right here, you need to have the ability to gauge if the keys are tactile and clicky to your liking. If not, you’ll must disassemble your construct and do fine-tuning.
At this level, you may also take a look at the extra options of your construct like Bluetooth connectivity, key mapping, RGB lighting, and extra to make sure the whole lot’s working appropriately.
That wraps up all of the issues you could know earlier than you begin to assemble your personal mechanical keyboard within the Philippines. Are you excited in your first construct?
*all photographs from Niko Foronda.
[ad_2]
Source link


